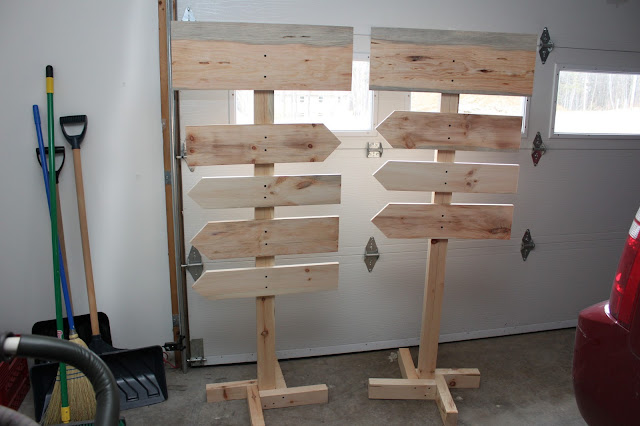
Having never made sign posts before I was a little worried
that the signs would be a little wobbly and may tip over. After searching around the interweb I found a
few photos of some sign posts that looked pretty sturdy.
The options I found were:
1) Coat Rack
2) Plywood base
3) Wedding Sign (Four support legs)
I wanted to keep it simple so I ruled out the coat rack
design. When the wood arrived I wasn't
given any plywood so that ruled out the plywood base design. I decided to try the wedding sign design.
I cut the posts to 5 feet.
I cut four legs at 12 inches in length and screwed them to the post and into the adjacent legs
(note I did set the post up a 1/4 inch so it wouldn't touch the floor.
Once all the signs were installed the sign posts were very
stable so I was happy.
~~~
View more projects on my you tube channel.
~~~


